DatsunTech72
-
Posts
552 -
Joined
-
Last visited
Never
Content Type
Profiles
Gallery
Everything posted by DatsunTech72
-
From the album: Pl510281764
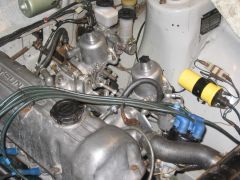
Final assembly and tuning. -
From the album: Pl510281764
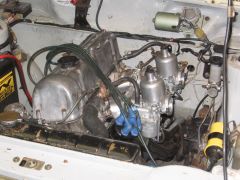
Final assembly and tuning. -
From the album: Pl510281764
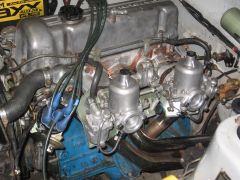
Final assembly and tuning. -
From the album: Pl510281764
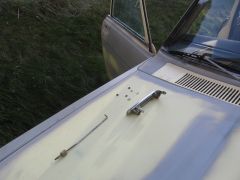
Last bit of fitment was modifying the heat shield for header clearance and block breather pipe, which had to turned up to clear the header.. -
From the album: Pl510281764
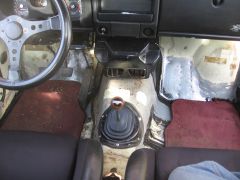
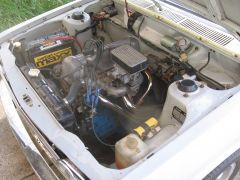
It's starting to look just like my old car! -
From the album: Pl510281764
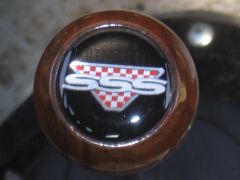
SSS knob looks awesome.. -
From the album: Pl510281764
Restored glovebox emblem installed -
From the album: Pl510281764
I already got her using the racing harness, now she'll be able to let herself in too -
From the album: Pl510281764
Now she can let herself in and out of the car! -

From the album: Pl510281764
Offering to advertise for the guys always helps in the quality of the work done and in the PRICE you bargin for!! -
From the album: Pl510281764
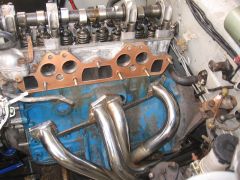
Die grinding intake to fit -
From the album: Pl510281764
Placement of the new hardware.. -
From the album: Pl510281764
Time to bolt it up and see what an open header sounds like! -
From the album: Pl510281764
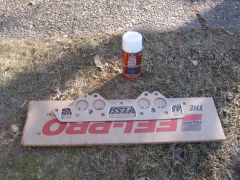
My gasket of choice is the Fel Pro with a bit of permatex copper spray.. -
From the album: Pl510281764
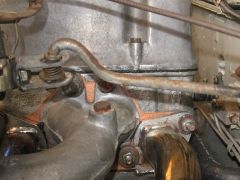
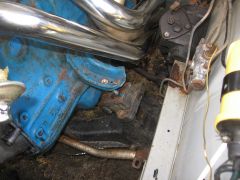
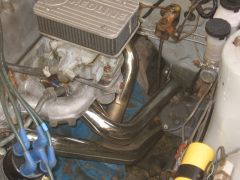
It's definatly a tight squeeze to get a header in there, so you just may want to make a tight right turn with your steering wheel to clear the pitman arm, and raise the engine off the drivers side mount to get it in.. -
From the album: Pl510281764
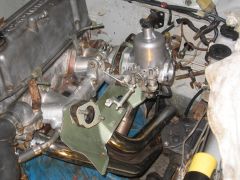
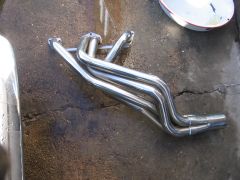
The new header ready to be fit! -
From the album: Pl510281764
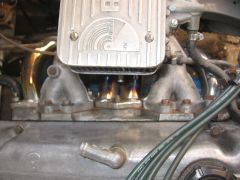
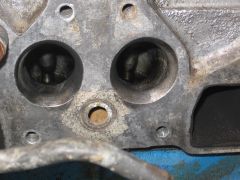
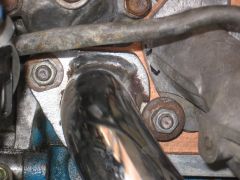
Clean gasket surfaces and port inspection..Was pleased to see that my ports had at least already been gasket matched! This'll make swaping to either my SU's or Mikunis a bit sooner.. -
From the album: Pl510281764
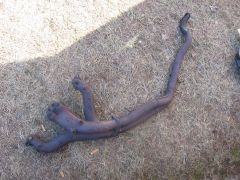
First step! Removed the old factory manifold and was lucky my exhaust leak was at the resonator as the pipes came right out and I didn't have to get under the car yet! -
From the album: Pl510281764
Some custom fitting was involved to get the intake and exhaust manifolds to line up correctly with the cylinder head..If you note the slight black lines on the intake you can see where I used a die grinder to reshape the manifold flanges.. -

From the album: Pl510281764
I removed all the all studs and bolts that were installed incorrectly, and installed new hardware and made sure it was done right this time..If you'll note the only place you use bolts is the 4 top intake manifold bolts, the other 7 attachment points should be studs and nuts..This makes servicing much easier, and allows quick removal of intake swaps.. -
From the album: Pl510281764
The owner of Competition exhaust himself did the entire job..It took 7 hours with my guidance and turned out absolutely BEAUTIFULLY.. -
From the album: Pl510281764
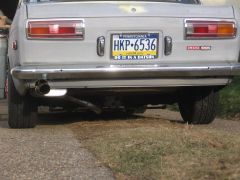
Installed the new header on Thursday 1/14/10 in preperation for the new 2 inch exhaust and turbo muffler to be installed on Friday the 15th.. -
From the album: Pl510281764
Installed the new header on Thursday 1/14/10 in preperation for the new 2 inch exhaust and turbo muffler to be installed on Friday the 15th.. -
-
-
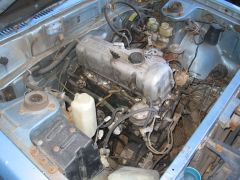
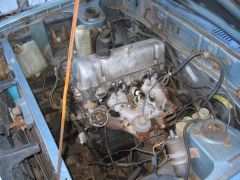
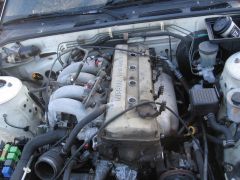
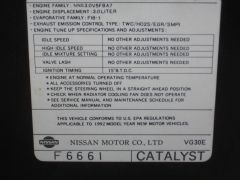
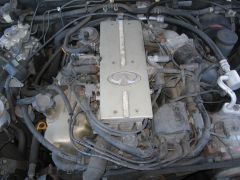
From the album: Junk yard finds