okayfine
-
Posts
589 -
Joined
-
Last visited
Never
Content Type
Profiles
Gallery
Everything posted by okayfine
-
From the album: Whitebird
CV test fit. The axles need a bit of trimming, but they're basically ready to rock. -

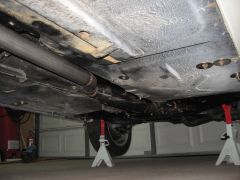
From the album: Whitebird
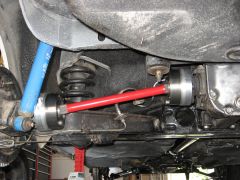
CV axle exploded view. Matt Dewitt's CNC axle adapters, extended spline Type II axle, and GKN CVs. Overall weight of these components is ~2lb more than the stock half shaft. Should take better with the angles of a low 510, though. -
From the album: Whitebird
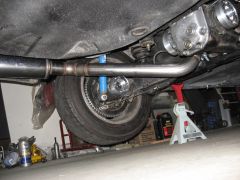
Same 2.25" stainless through the crossmember, up to a 2.25" pipe/2.0" core Magnaflow round muffler. Fits brilliant. -
From the album: Whitebird
2.25" stainless pipe through a stainless flex pipe and stainless resonator (perforated tube, not louvers). -

From the album: Whitebird
The Autech header. 4-1, polished and TIG-welded stainless. Ends in a 2.25" pipe and three-bolt flange. I cut it off to clear the idler and added some bends and a v-band flange. -

From the album: Made in Japan
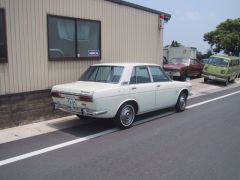
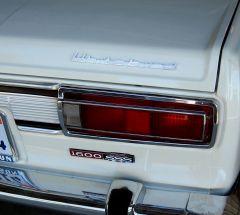
Rear shot showing JDM taillight panel. -
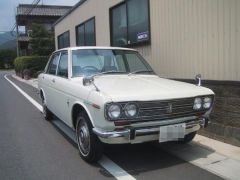
From the album: Made in Japan
Front three-quarters view. Stock as the day is long. -
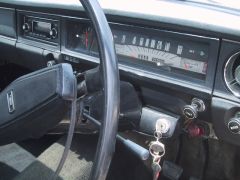
From the album: Made in Japan
'69 RHD instrument cluster with optional clock. 71K original kilometers (~42.5K miles). -
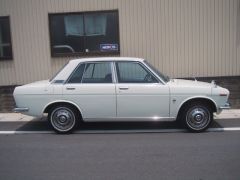
From the album: Made in Japan
Side view. Factory tinted windows are noticable in this shot. -
From the album: Made in Japan
Rear three-quarters view, Japanese cars in near distance. -
From the album: Whitebird
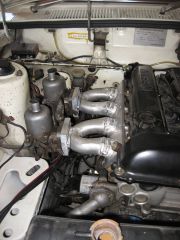
SUs mocked up further. Not a lot of room to play with. I'll need a shorter brake master cylinder and will have to relocate the battery. -
From the album: Whitebird Badges
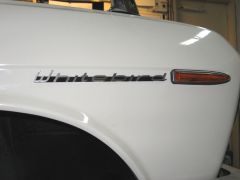
Still tricky to get the lighting right, but the car's still in the garage on jack stands, so... -

From the album: Whitebird Badges
The finished badge set after sanding, paint, sanding, and clear. -

From the album: Whitebird
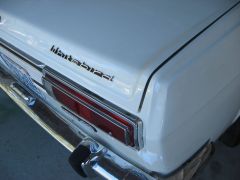
Whitebird trunk badge installed. -
From the album: Whitebird Badges
A very poor photo of the badge in place. Still needs a cleaning and a coat of clear at this point. -
From the album: Whitebird Badges
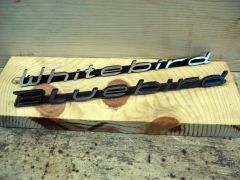
Comparison of the OE Bluebird badge and the new Whitebird badge. If'n I had a local chrome shop, I would have entertained getting these chromed, then painting black. -
From the album: Whitebird Badges
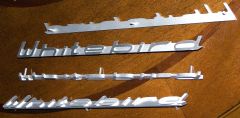
After sanding the tooling marks from the faces I painted the badges black, then sanded the faces again to bare aluminum. I'll add a gloss clear coat to help protect against aluminum oxidation. -
From the album: Whitebird Badges
Fitting the new badge on the trunk. Fresh from the packaging, I had to see what it on the car. It'll get some paint work before I'm done, both to make it look more OE and to make it show up better on the white paint. -
From the album: Whitebird Badges
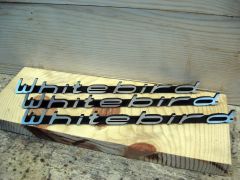
A shot of the newly-milled badges. CNCed from aluminum, the badges even have the mounting pins. -
From the album: Whitebird
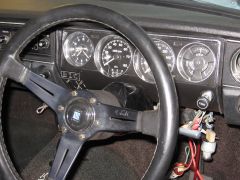
1968 SSS instrument cluster installed. All the information you could reasonably want in a naturally-aspirated 510, as the factory intended. -
1968 SSS Instrument Cluster
-
-
From the album: 1968 SSS Instrument Cluster
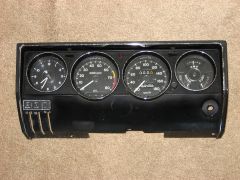
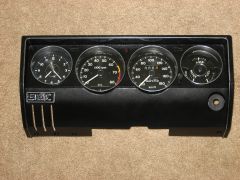
The finished product. Not 10/10ths, but close enough for government work. Everything cleaned up well. -
From the album: 1968 SSS Instrument Cluster
The refinished gauge panel. Sort of a mix of '68 and '69 paint styles - '69 black with '68 chrome gauge rings. -

From the album: 1968 SSS Instrument Cluster
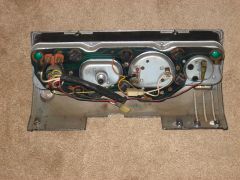
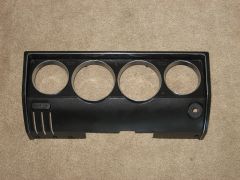
The '68 SSS dash differs from the '69 by facia design and color combo. The '68 originally had a gray/silver paint job, with the rectangle surrounding the gauges painted black. The '69 was all black, and this dash was painted black. I'm currently stripping the paint and will be painting it anew in '69 style. -
From the album: 1968 SSS Instrument Cluster
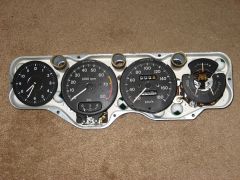
SSS dash innards. Entire unit is removable assembly; individual gauges are also removable. Everything in metric, of course.