

carterb
-
Posts
31033 -
Joined
-
Last visited
-
Days Won
11
Content Type
Profiles
Gallery
Everything posted by carterb
-
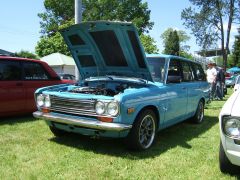
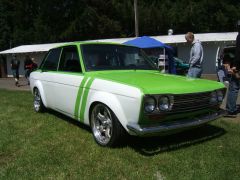
From the album: Canby 2008
-
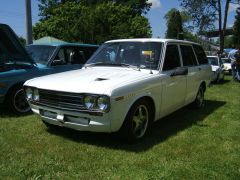
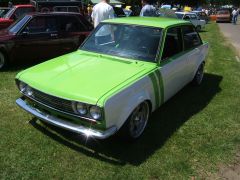
From the album: Canby 2008
-
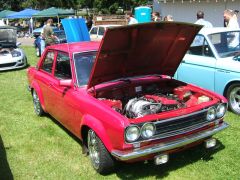
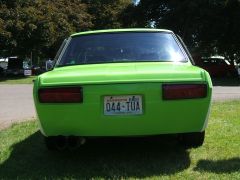
From the album: Canby 2008
-
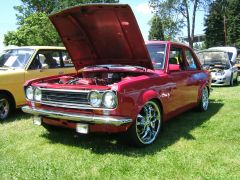
From the album: Canby 2008
-
From the album: Canby 2008
-
From the album: Canby 2008
-
From the album: Canby 2008
-
From the album: Canby 2008
-
From the album: Canby 2008
-
From the album: Canby 2008
-
From the album: Canby 2008
-
From the album: Canby 2008
-
From the album: Canby 2008
-
From the album: Canby 2008
-
From the album: Canby 2008
-

From the album: Canby 2008
-
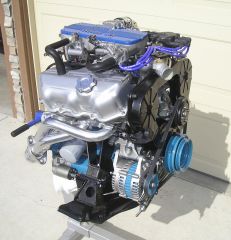
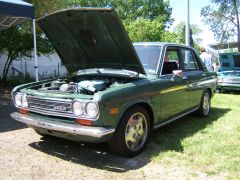
From the album: Carter's Miscellaneous 510 pictures
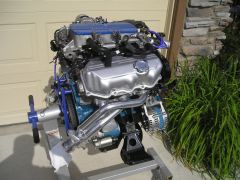
Al Allen's super clean VG30 -
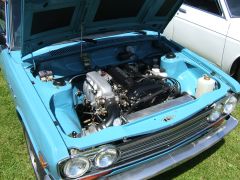
From the album: Carter's Miscellaneous 510 pictures
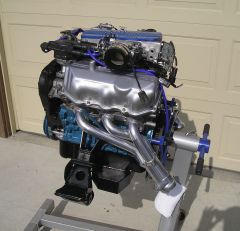
Al Allen's super clean VG30 -
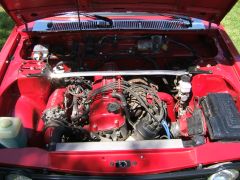
From the album: Carter's Miscellaneous 510 pictures
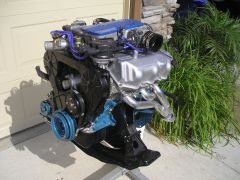
Al Allen's super clean VG30 -
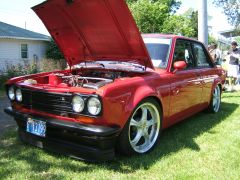
From the album: Carter's Miscellaneous 510 pictures
Al Allen's super clean VG30 -

From the album: Otto
All in all, not a difficult job. Not that time consuming either. I probably took 4 hrs to do it (this was my first time) and the majority of that time was spent getting the old glue off of the frame, eliminating the rust, primering, and cleaning the old stainless steel trim. I do have to say, regardless of how the final fit came out. It is a dream to look out of compared to the crusty old cracked windshield I removed. I'm quite happy. Comments or questions? drop me an e-mail at carterb@electroimpact.com -

From the album: Otto
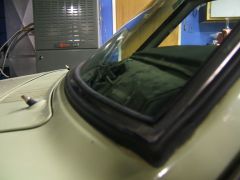
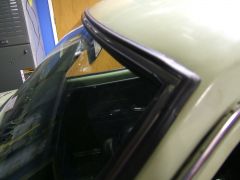
It was hard to get a picture of this, but along the A-pillars, the seal to the windshield is pulled away a bit, there is at least 1/16" gap along the front surface, this will quickly fill wiht dirt and debris I'm sure. : ( -
From the album: Otto
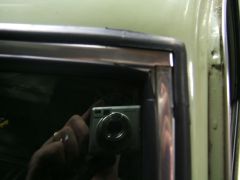
The seal to the body looks nice and tight all around. -
From the album: Otto
Step back and it's not too bad... -
From the album: Otto
Last one